PDFsharp-MigraDoc 는 .NET 에서 손쉽게 PDF 를 생성할 수 있는 라이브러리 입니다.
다만 .Net Framework 가 아닌 .NET 에서는 PDF 생성 방법이 많이 바뀌었습니다.
WPF 는 그대로 이지만요.
이 Post 에서는 WPF 에서 (기존 방식) PDFsharp-MigraDoc 를 사용해 PDF 를 생성하는 방법과, .NET 8.0 에서 PDF 를 생성하는 방법을 확인 합니다.
각 예제는 .NET 8.0 에서 작성 되었으며 C# 의 경우는 콘솔 프로그램에서 진행 합니다.
0. 패키지
.NET 8.0 C# Console 프로그램 에서는 PDFsharp-MigraDoc 를 사용 했습니다.
WPF 에서는 PDFsharp-MigraDoc-WPF 를 사용 하시면 됩니다.
제가 기억하기에는 WPF 는 기존 방식 그대로 이지만 PDFsharp-MigraDoc 6 번대 버전부터 방식이 크게 달라졌다고 알고 있습니다.
저도 실제로 .Net Framework 에서 사용하던 코드가 동작하지 않아 찾아보다 알게 되었습니다.
1. WPF 에서 PDF 생성
private void CreatePdf()
{
	Document document = new Document();

	Section section = document.AddSection();

	Paragraph paragraph = section.AddParagraph();

	string fontName = new FontResolverInfo("맑은 고딕").FaceName;
	paragraph.Format.Font.Name = fontName;
	paragraph.Format.Font.Size = 24;

	paragraph.AddFormattedText("TEST START");

	paragraph = section.AddParagraph();
	paragraph.Format.Font.Name = fontName;
	paragraph.Format.Font.Size = 24;
	paragraph.AddFormattedText();

	paragraph = section.AddParagraph();
	paragraph.Format.Font.Name = fontName;
	paragraph.Format.Font.Size = 24;
	paragraph.AddFormattedText("테스트 문자열");

	paragraph = section.AddParagraph();
	paragraph.Format.Font.Name = fontName;
	paragraph.Format.Font.Size = 24;
	paragraph.AddFormattedText();

	Table table = section.AddTable();
	table.Format.Font.Name = fontName;
	table.Format.Font.Size = 24;
	table.Borders.Width = 1;

	table.AddColumn("4cm");
	table.AddColumn("12cm");

	Row row = table.AddRow();
	row.Cells[0].AddParagraph("첫번째 열");
	row.Cells[1].AddParagraph("두번째 열");

	paragraph = section.AddParagraph();
	paragraph.Format.Font.Name = fontName;
	paragraph.Format.Font.Size = 24;
	paragraph.AddFormattedText();

	paragraph = section.AddParagraph();
	paragraph.Format.Font.Name = fontName;
	paragraph.Format.Font.Size = 32;
	paragraph.AddFormattedText("TEST END");

	paragraph = section.AddParagraph();
	paragraph.Format.Font.Name = fontName;
	paragraph.Format.Font.Size = 24;
	paragraph.AddFormattedText();

	section.AddImage("D:\\DEV\\TestImages\\Resize_Copilot_20250730_155605.png");

	PdfDocumentRenderer renderer = new PdfDocumentRenderer();
	renderer.Document = document;
	renderer.RenderDocument();

	string fileName = "WPF-PDF-Test.pdf";

	renderer.PdfDocument.Save(fileName);

	Process.Start(new ProcessStartInfo(fileName) { UseShellExecute = true });
}이미지는 원하시는 이미지 파일을 넣으시면 됩니다.
글자에 스타일을 지정하고 싶으면 AddFormattedText 뒤에 파라미터로 지정하면 됩니다.
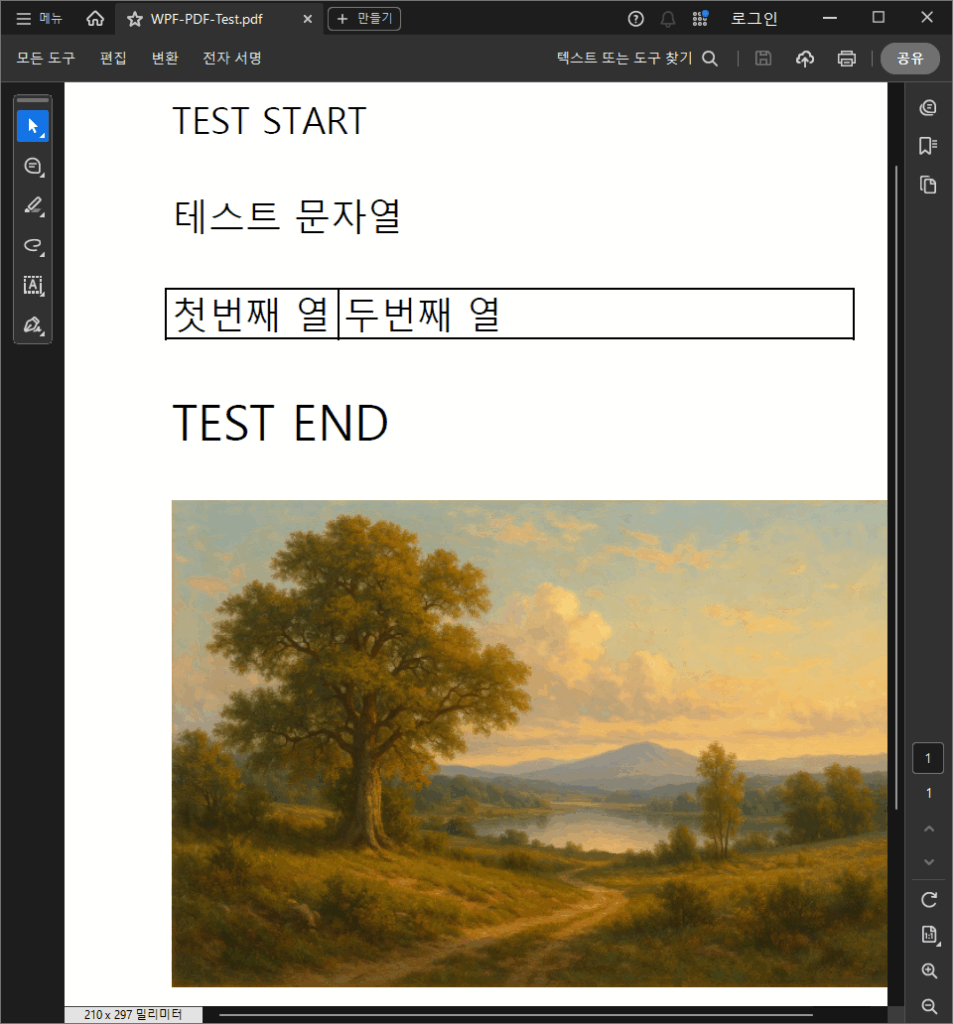
1.1. WPF 에서 PDF 생성 – 실행 결과
2. C# 에서 PDF 생성 – CustomFontResolver 생성
using MigraDoc.DocumentObjectModel;
using MigraDoc.Rendering;
using PdfSharp.Fonts;
using System.Diagnostics;

class CustomFontResolver : IFontResolver
{
	public const string DefaultFontName = "comic";

	public byte[] GetFont(string faceName)
	{
		switch (faceName)
		{
			case "comic#": // Regular
				return File.ReadAllBytes("C:\\Windows\\Fonts\\comic.ttf");
			case "comic#b": // Regular
				return File.ReadAllBytes("C:\\Windows\\Fonts\\comicbd.ttf");
			case "comic#i": // Regular
				return File.ReadAllBytes("C:\\Windows\\Fonts\\comici.ttf");
			case "comic#z": // Regular
				return File.ReadAllBytes("C:\\Windows\\Fonts\\comicz.ttf");
		}
		throw new InvalidOperationException("Font not found: " + faceName);
	}

	public FontResolverInfo ResolveTypeface(string familyName = "comic", bool isBold = false, bool isItalic = false)
	{
		string fontString = "";

		if (familyName.Equals("Courier New", StringComparison.OrdinalIgnoreCase))
		{
			fontString = DefaultFontName + "#";
		}
		else if(familyName.Equals("comic", StringComparison.OrdinalIgnoreCase))
		{
			fontString = familyName + "#";

			if (isBold && !isItalic)
			{
				fontString = fontString + "b";
			}
			else if(!isBold && isItalic)
			{
				fontString = fontString + "i";
			}
			else if(isBold && isItalic)
			{
				fontString = fontString + "z";
			}
		}
		else
		{
			fontString = familyName + "#";

			if(isBold && !isItalic)
			{
				fontString = fontString + "b";
			}
			else if(!isBold && isItalic)
			{
				fontString = fontString + "i";
			}
			else if(isBold && isItalic)
			{
				fontString = fontString + "b#i";
			}

		}

		return new FontResolverInfo(fontString);
	}
}버전이 6 점대로 바뀌면서 .NET 은 Windows 외에 OS 도 지원 하기 때문에 방식이 크게 바뀝니다.
그중 가장 큰 변화가 바로 FontResolver 를 지정 해주어야 한다는 겁니다.
폰트 파일을 직접 지정하지 않으면 동작하지 않습니다.
또한 왜인지 모르겠지만 기본 폰트로 Courier New 를 찾게됩니다. 사전에 폰트명을 지정 해도 마찬가지 입니다.
때문에 그에 대한 예외 처리 또한 해주어야 합니다.
1~4: Using 선언
10: GetFont: 파라미터에 따라 실제 폰트 파일을 읽어서 byte 배열로 반납합니다.
26: ResolveTypeface: 파라미터에 따라 폰트 string 을 만들어 반납합니다.
GetFont, ResolveTypeface 는 IFontResolver 인터페이스에서 강제하는 반드시 구현되어야 하는 함수 입니다.
때문에 자신이 사용하고픈 폰트가 있다면 파일을 찾아서 일일히 구현해주는 수밖에 없습니다.
2. C# 에서 PDF 생성 – PDF 생성
class Program
{
	static void Main(string[] args)
	{
		GlobalFontSettings.FontResolver = new CustomFontResolver();

		Document document = CreateDocument();

		var pdfRenderer = new PdfDocumentRenderer();
		pdfRenderer.Document = document;

		pdfRenderer.RenderDocument();
		const string filename = "HelloWorldCustomFont.pdf";
		pdfRenderer.Save(filename);

		Process.Start(new ProcessStartInfo(filename) { UseShellExecute = true });
	}

	static Document CreateDocument()
	{
		Document document = new Document();
		Section section = document.AddSection();
		Paragraph paragraph = section.AddParagraph();

		paragraph.Format.Font.Name = CustomFontResolver.DefaultFontName;
		paragraph.Format.Font.Color = Colors.Blue;
		paragraph.Format.Font.Size = 16;
		paragraph.AddFormattedText("Hello, MigraDoc 6.2 with Custom Font!\n");
		paragraph.AddFormattedText("Hello, MigraDoc 6.2 with Custom Font!\n", TextFormat.Bold);
		paragraph.AddFormattedText("Hello, MigraDoc 6.2 with Custom Font!\n", TextFormat.Italic);
		paragraph.AddFormattedText("Hello, MigraDoc 6.2 with Custom Font!\n", TextFormat.Bold | TextFormat.Italic);

		return document;
	}
}28~31: 실제 글자를 쓰는 부분 입니다.
C# 에서 사용할 때는 FontResolver 만 주의 하시면 되고 나머지는 WPF 와 동일 합니다.